The Inside Garden
“Despite the forecast, live like it’s spring.” – Lilly Pulitzer
I know it’s still cold.
I know the nights are still well below freezing.
I know that there still might be snow on the way.
I know it’s cloudy and miserable and dreary.
But you know what else?
I’m living like it’s spring!
I work at Glenwood Gardens in the Highfield Discovery Garden and my specialty is vegetables. This year, the garden started in February. Now I can just hear the complaints, “But Allyson, you can’t grow vegetables in February! What are you doing!? You’ll kill the plants!” Hold your horses until you’ve heard my side of the story, OK? You’re right, you just can’t be throwing seeds into snow banks, but with a little ingenuity and a window, spring can start inside long before winter’s end.
The Seeds


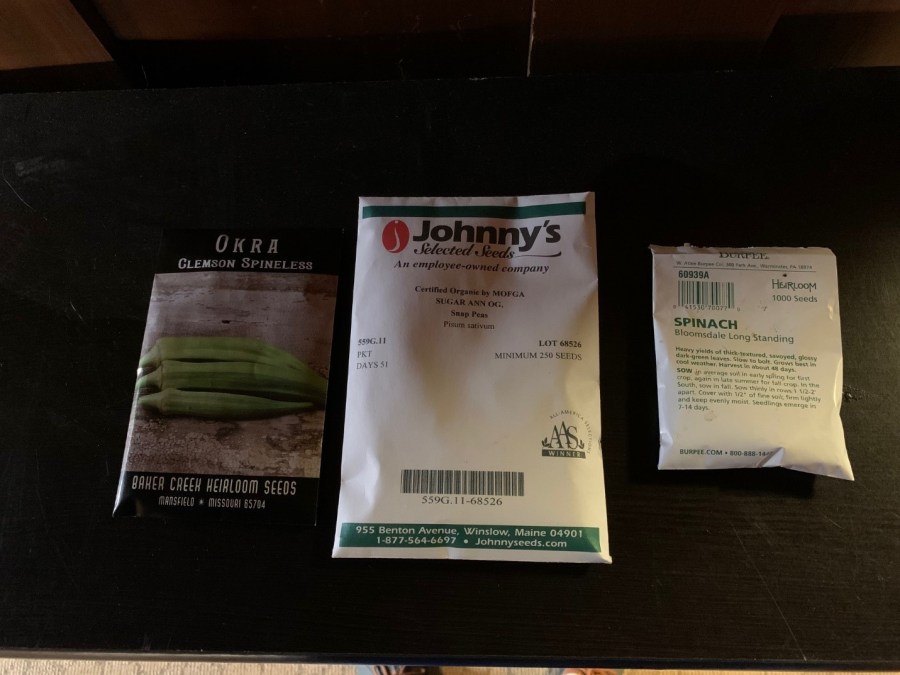
Without seeds, you have nothing. Full stop. So go pick out some of them! You can stop by a nursery, a big box store or order online.
Once you have seeds, read the seed packet. They have a lot of useful information on growing suggestions and starting dates on the back of the packet. Now, I will admit, some seed companies put more information on the packets than others, so do a little research if need be. A great tool I use for getting starting dates is this online date calculator.
The Growing Medium
Seeds need something to grow in, so while you’re out picking up seed, buy a bag of potting soil. If you have a compost pile, you can skip buying a bag and just use what you have. Make sure the compost is well rotted, fairly fine (you can run it through a sieve to get out any large chunks) and smells like soil, not rotten food scraps.

We use compost here at Glenwood Gardens, because it’s free and we know what went into making it. We do get the occasional odd weed in it, but for the most part, if the compost pile has been done right, weeds shouldn’t be much of a problem.
The Pot & Pan
Now you can buy seed starting trays fairly cheaply at most places that sell soil and seed, but what’s the fun in that?
Clean yogurt and pudding cups make excellent pots and all they need is a few holes poked in the bottom. Clear plastic containers with lids make great mini-greenhouses, as they help hold the moisture. Just leave the lid cracked or poke a hole in it so the plants can breathe. Find the appropriate sized pot for your plants and they will be quite happy! A good rule of thumb is that the longer you will be keeping your plants inside, the bigger the pot you should put them in.

The pan is what the pot is set into to catch the water that drains out the bottom. You can set pots in saucers, trays or anything really, as long as it holds water. Make sure you empty the pan every other day or so, so that your plants are not constantly sitting in water.
The Light
Commercial growers use special grow lights to provide light for seedlings. We have four of them at Glenwood Gardens, and by all means, you can use them if you want to, but they’re not essential.

A sunny window, (preferably south-facing if you are in the northern hemisphere and north-facing if you are in the southern hemisphere) is really all you need. Yes, it may take a little longer to grow than under lights, just because of cloudy days, but it will get the job done.
Putting it All Together
Now that all the supplies are gathered let’s get growing!
In an area that you are OK with getting dirty, fill all the pots, trays or yogurt cups with pre-moistened growing medium. Set the pots in their pans and then place the seeds in a hole as deep as the seed itself (i.e., if you have 1/2-inch seed, place it in a 1/2-inch deep hole) and cover gently with growing medium. I like to put 2–3 seed per container if the container is only going to have one plant, but if your pot will hold multiple plants without overcrowding, place more seeds with a little extra. Why the extra seeds? Not every seed will germinate, so it’s nice to hedge your bets.

Place the pots and pans in that sunny window. Water when you feel that the soil is dry. I like to use a watering can with a sprinkler attachment or a spray bottle when the seeds are very small so I don’t wash them away if the water comes out with any force. Transplant outside when the seedlings are ready for the outdoors.
So yes, I know it’s cold outside.
Yes, I know it may still snow.
Yes, I know it’s been gray and miserable.
But despite the forecast, I’m going to continue to live like it’s spring, even if it’s just on the inside.
—
Allyson Ernst
Nature Interpreter, Glenwood Gardens
