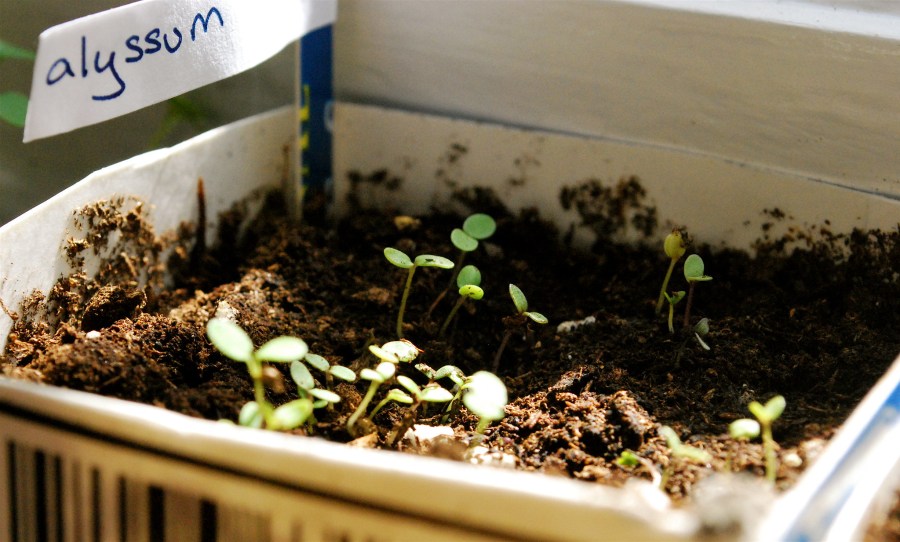
Do-It-Yourself Carton Garden
Have you finished drinking all the milk? Don’t throw that cardboard in the recycling. With a little glue, color and creativity, you can turn it to a repurposed planter for your root vegetables. Let’s start!

What you’ll need:
- Clean and dry milk or juice carton
- Newspaper*
- Scissors
- Plastic glue
- Water
- Acrylic paints
- Brush for applying glue and paint
- Avocado pit or/and root vegetables, such as small potato, small sweet potato, little onion, head of garlic or beet
*If you don’t have newspaper, you can mix acrylic paints with plastic glue so it will stick the milk carton.
How to begin:
- Choose two vegetable roots or an avocado pit for each carton.
- Use the plastic glue to cover the carton with newspaper. Let it dry and stick.*
- Paint your covered container. Decorate as you wish. Be as creative as you want!
- Keep the carton lying on a table. On the sides of the carton, make a mark with a pen or pencil for the size of the vegetables you choose.
- Cut a circle to fit each veggie so that the end of the root will sit stable on the wall.
- Cut a small window on top of your carton to monitor water levels. This way, you can see if water is missing.
- Fill the carton with water through the watering window so water will reach the vegetables. Keep the window closed to reduce possible water evaporation.
- Check your planter with your child every day, fill with water if needed.
- Wait about a week for the first bloom.
- After the first bloom, you can move it to a larger planter, plant it in your garden or leave it in the kitchen and chop green leaves for salad.
- Reuse this new planter you made for more root vegetables or green leaves like parsley or basil.
What root veggies or greenery did you plant in your carton garden? Share your creation with us by dropping a photo below.
—
Moran Slakmon, Sustainability Coordinator
